Moving to a new place can be both exciting and stressful. Amidst the chaos of packing, labeling cardboard boxes might seem like a minor task. However, proper labeling can streamline the moving process and make unpacking a breeze. Here’s a comprehensive guide on how to label cardboard boxes for moving effectively.
1. Start Early and Plan Ahead
Begin labeling your cardboard boxes well in advance of your moving date. Create a labeling system that works for you and your moving crew. Consider color-coding boxes based on rooms or categories, such as kitchen items, bedroom essentials, or fragile items. Planning ahead ensures a smooth transition and minimises confusion during unpacking.
2. Use Clear and Concise Labels
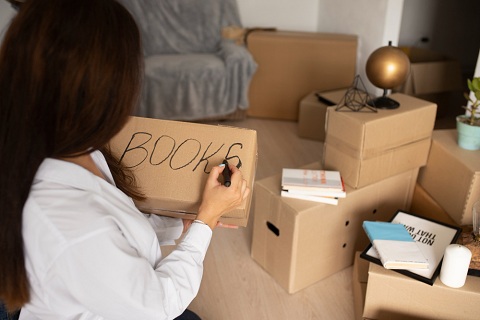
When labeling cardboard boxes, clarity is key. Use a permanent marker or printed labels with clear, legible handwriting. Include essential information on each label, such as the contents of the box, the destination room, and any special handling instructions. Avoid using abbreviations that may be confusing later on.
3. Label Each Side of the Box
Ensure that labels are visible from all sides of the box. This makes it easier to identify boxes when they are stacked or placed in different orientations during the move. Place labels on the top, sides, and even the bottom of the box for maximum visibility.
4. Prioritise Fragile Items
Fragile items require special attention during the moving process. Clearly mark boxes containing fragile items with “Fragile” labels or symbols. Consider using colored tape or stickers to draw attention to these boxes. Additionally, indicate which way up fragile items should be kept to prevent damage.
5. Pack Essentials Separately
Pack essential items separately and label them as “Open First” or “Essentials.” This ensures that crucial items, such as toiletries, medications, and bedding, are easily accessible upon arrival at your new home. Keep these boxes separate from the rest of your belongings to avoid rummaging through multiple boxes in search of essentials.
6. Include Room Labels
Assign each room in your new home a designated color or label. Clearly mark each box with the corresponding room label, such as “Kitchen,” “Living Room,” or “Master Bedroom.” This helps movers and yourself to quickly place boxes in the correct rooms, simplifying the unpacking process.
7. Seal Boxes Securely
Before labeling, ensure that all boxes are securely sealed with packing tape. This prevents items from spilling out during transit and keeps the contents protected. Use multiple layers of tape for added reinforcement, especially for heavier items or boxes containing fragile belongings.
8. Keep an Inventory List
Maintain an inventory list of all labeled boxes and their contents. This serves as a reference during the packing and unpacking process, allowing you to keep track of your belongings and ensure that nothing gets lost or misplaced. Digital spreadsheets or smartphone apps can be useful for organising your inventory list.
9. Label Special Handling Instructions
If certain boxes require special handling, such as “Do Not Stack” or “This Side Up,” be sure to clearly label them as such. This helps movers handle these boxes with care and minimises the risk of damage to fragile or delicate items.
10. Dispose of Labels Responsibly
Once you’ve completed your move, dispose of labels responsibly to declutter your new space. Remove labels from boxes before recycling or reusing them to ensure proper disposal. Consider using eco-friendly labeling options to minimise environmental impact.
Conclusion
Proper labeling of cardboard boxes is essential for a smooth and organised moving process. By starting early, using clear labels, and prioritising fragile items, you can streamline the packing and unpacking process, making your move a stress-free experience. With these tips, you’ll be well-equipped to label cardboard boxes effectively for your next move.